Welcome back to our Gardenscape, everybody! With Mother’s Day behind us, we’re diving headfirst into the full swing of spring. And you know what that means—it’s time to create a new garden bed. Today, we’re taking you through the transformation, step by step. We lost a pair of boots, a pair of sweatpants, and even broke a shovel to get here, but we got it done. Don’t ask… (LOL)
Staking the Area
We started by staking out the area to get the outline of the bed. With a French drain on this side of the yard, we needed to be strategic about the layout to avoid water flowing right through the middle of our planted area. After walking it down and estimating the water flow direction, we sprayed our outline to avoid cutting around the rope and stakes, making some adjustments as needed.
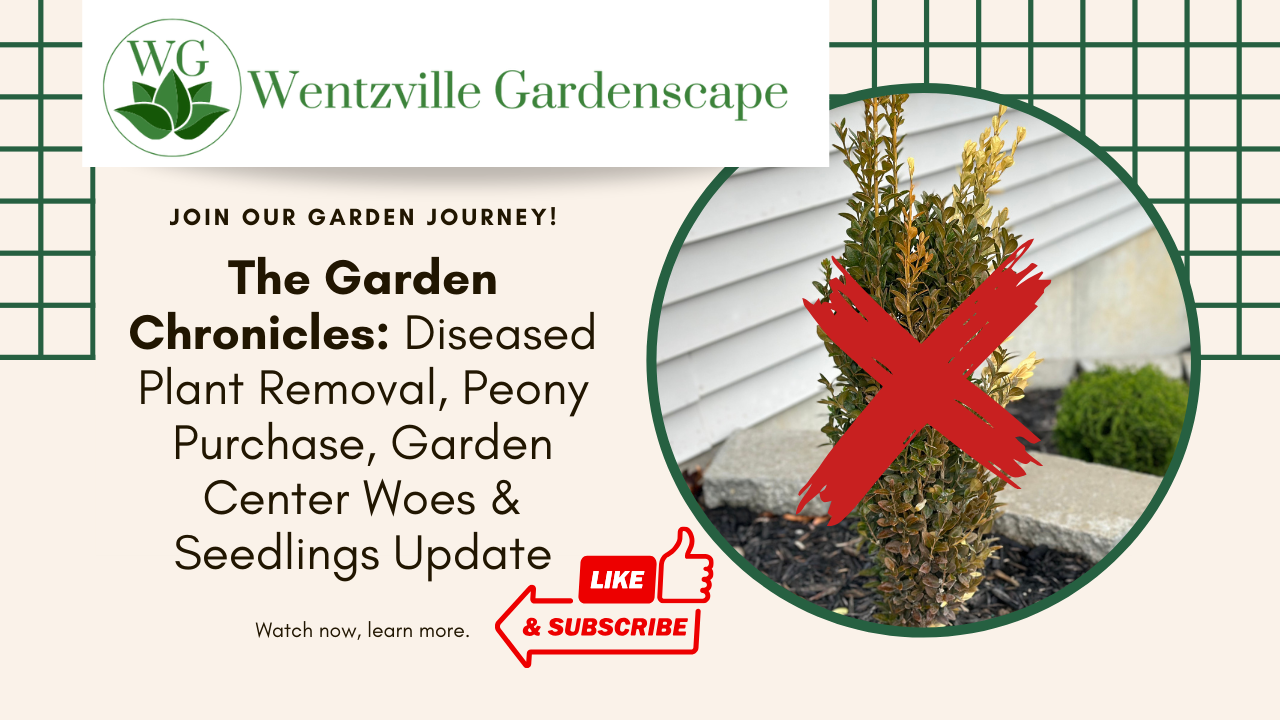
Next came the backbreaking part: cutting out the sod and moving it out of the area. Day one of sod removal went smoothly, although I spared you the footage of my struggling faces. During this process, I discovered that our grub treatments have been less than effective. Grubs every 8-12 inches mean potential trouble with Japanese beetles. Additionally, being so close to the house and driveway, we unearthed a ton of rocks, just as expected.
Before we could start planting, we needed to put down some good topsoil. Given our heavy clay soil, a top layer of quality soil was essential for giving the plants a good start. I had a yard and a half of topsoil delivered and spread it layer by layer, tamping it down between each layer.
The Vision


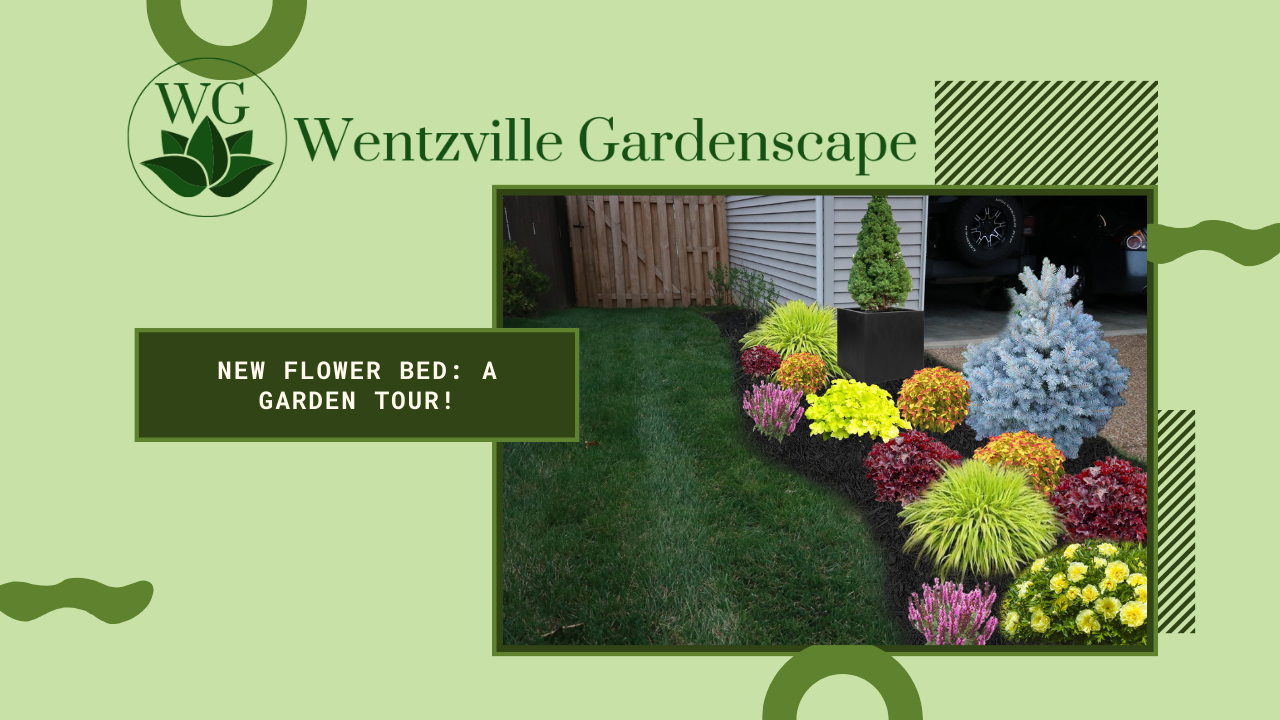
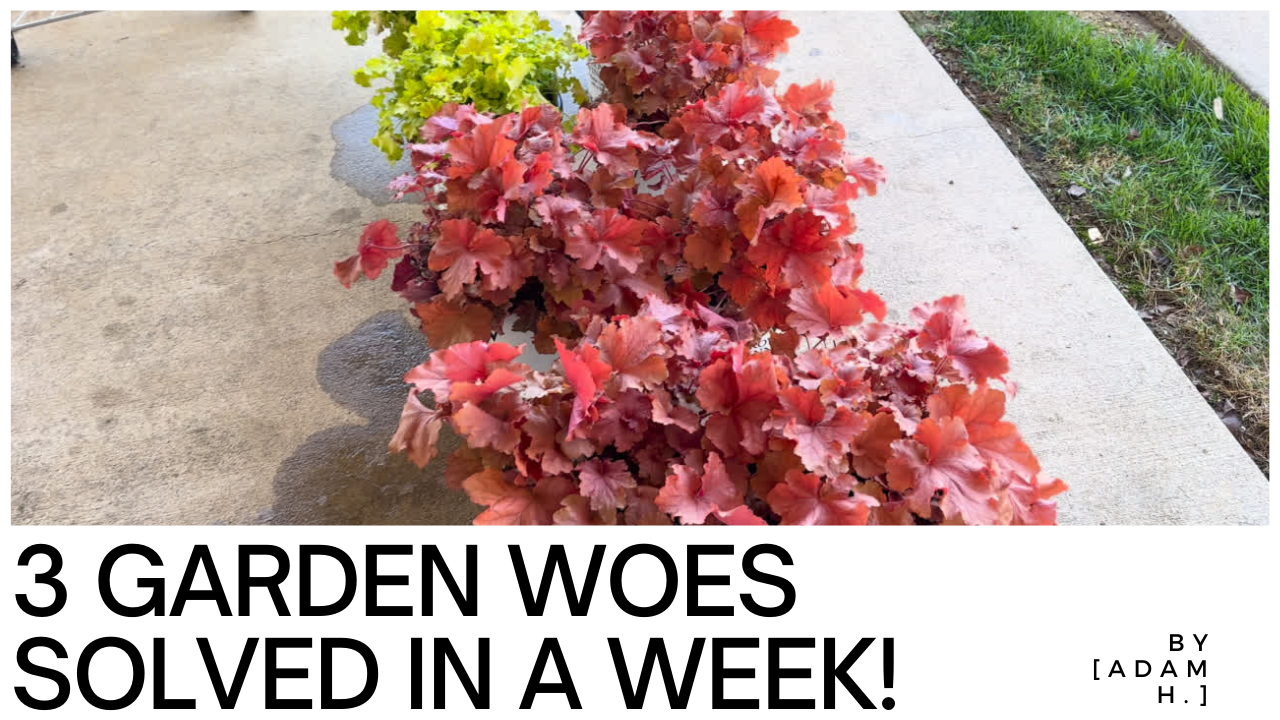
With the foundation set, let’s talk about our vision for this area. I always like to lay out my plans to visualize the final look. We decided to add Dwarf Alberta Spruce, in planters, on either side of our garage for symmetry and statement. To introduce some new textures, we incorporated perennial grasses, which are absent elsewhere in our yard. I’ve always wanted to try spirea for their multicolored leaves and flowering potential, and Coral Bells for a deep red contrast.
We also had an Itoh Peony ready to go, so we just needed to find a spot that makes sense for it to get the sun and moisture it needs to thrive.
Designing the Space
Now, back to our flower bed. With the bed ready for planting, it was time to place the plants we already had and figure out where to add more. Initially, we planned to replace the three Limelight Primes by the garage, but my wife convinced me to give them another chance this season. Meanwhile, we’ll plant the new Limelight Primes in the space.
I positioned the Hydrangeas in a single row down the middle, ensuring they get the right sun and shade balance. The Coral Bells needed to catch the shade from the Hydrangeas to avoid being scorched by the full sun from dawn to dusk. Spirea, needing full sun for the best blooms, were placed strategically throughout the bed.
In the two large rounded areas, we reserved spots for the Dwarf Blue Spruce and the Blue Point Juniper from our other flower bed across the driveway. We’ll fill in around them with additional plants as needed.
The Planting
With everything spaced out nicely, the digging began. After hours of shoveling and tamping the dirt, it hurt a bit to dig into it again. But the excitement of planting amazing shrubs and perennials quickly overshadowed that. We dug the holes wider than the root balls, added Biotone, and mixed in compost to enrich the topsoil.
Despite hitting clay dirt and encountering a few obstacles along the way, we persevered, mixing in compost and topsoil to provide our plants with the best possible growing environment. With each plant carefully nestled into its new home, our garden bed began to take shape.
As I suspected, we hit clay dirt while digging, so I used my hands to break it up and mix it with compost and topsoil to backfill the holes. This ensures the roots have a rich, well-drained environment to grow in.
After carefully planting each shrub and perennial, I made sure to water them thoroughly. The bed now features a mix of textures and colors that will bring visual interest throughout the season. The Coral Bells will catch the shade from the Hydrangeas at different times of the day, depending on the sun’s position. The Hydrangeas are lined up right down the middle, about 2 ½ feet apart. The Spirea are dappled throughout, getting good bursts of sun in the morning and catching some shade in the late afternoon.
I have to admit, after hours of shoveling dirt and tamping it down, it was a bit heartbreaking to dig into it again. But knowing we’re about to fill this flower bed with amazing shrubs and perennials made it worth it. In this section of the bed, only about the top 8-10 inches is topsoil, so we still hit some clay dirt while digging, along with a few rocks.
As usual, we dug the holes wider than the root balls, added some Biotone, and mixed in compost for good measure. I’m not sure of the nutrient levels in the topsoil, but it doesn’t hurt to give the plants a good start. Normally, I plant the root ball about 2 inches above the soil, but since they are on a berm-type hill sloping down on either side, I only left about a half inch above the soil. Whether this makes a difference or not, we’ll find out. Life is an experiment, so let’s give it a go. I repeated this process with the other two Hydrangeas.
And there you have it—the beginning of our new garden bed, all planted and watered in. This transformation marks the start of what promises to be a beautiful and bountiful addition to our Gardenscape. Thanks for joining us on this journey. Stay tuned for more updates as our garden continues to grow. Please share your gardening experiences with us! We would love to hear them. Don’t forget to like, share, and subscribe to keep up with our progress. See you next time!


Leave a Reply